A few months ago, I shared how to spruce up your Flatiron blog. Since then, I’ve continued to publish a new blog post each week. Learn.co provides Flatiron students with a built-in blogging platform that is serviceable, if not flashy. Of CodeWitch.dev’s 35 blog posts, I wrote and published 30 of them through Learn.co.
At the beginning of June, a prospective employer asked me what I knew about CMSs, or Content Management Systems. At the time, my answer was, “Honestly? Not much.”
Determined to come up with a better answer for my follow-up email, I did some research. I learned that a CMS is simply a way to handle all the content (pages, blog posts, etc.) for a website. A CMS is especially helpful for team members who aren’t as tech-savvy because it wraps the tricky code into a nice, WYSIWYG (what you see is what you get) format.
As an experiment, I decided to migrate my Flatiron blog to a CMS. Through this process, I figured I would learn a new skill, have a better understanding of what a CMS is actually good for, and maybe – just maybe – find a nicer text editor for my blog.
Choose a CMS
There are countless CMSs out there, but I ultimately settled on Forestry.io for the following reasons:
- The free plan would fit my needs perfectly.
- It integrates cleanly with GitHub Pages and Jekyll, which is how Flatiron initially builds your blog.
- It has a live preview server.
- It is git-based, meaning all posts and edits would be pushed to the GitHub repository first, making it easy to track changes.
- It came highly recommended.
Sign Up for Forestry.io
If you’re ready to make the change, sign up for your free Forestry.io account. I chose to sign up through GitHub, but you can use a regular email address and password if you like.
Import Your Blog
Once you’ve logged in, importing your blog is simple.
- Click the green Add Site button.
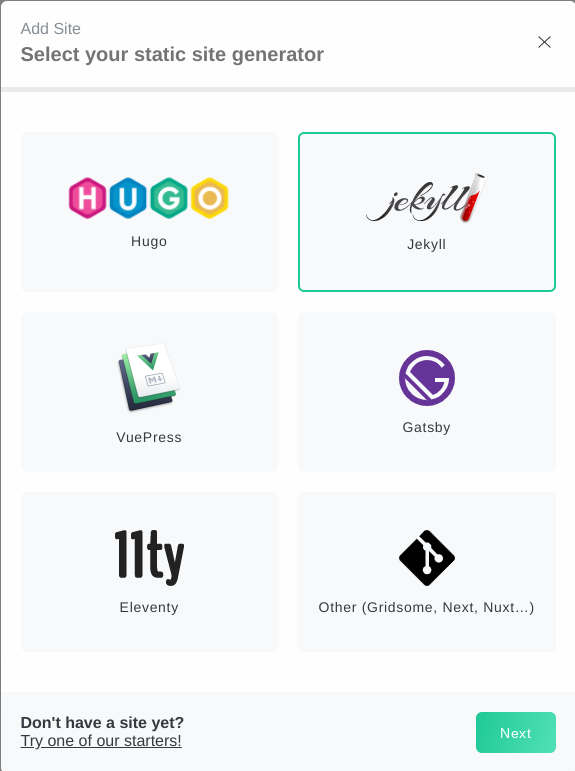
- Within the popup, select your static site generator. Again, your Flatiron blog is already built with Jekyll.
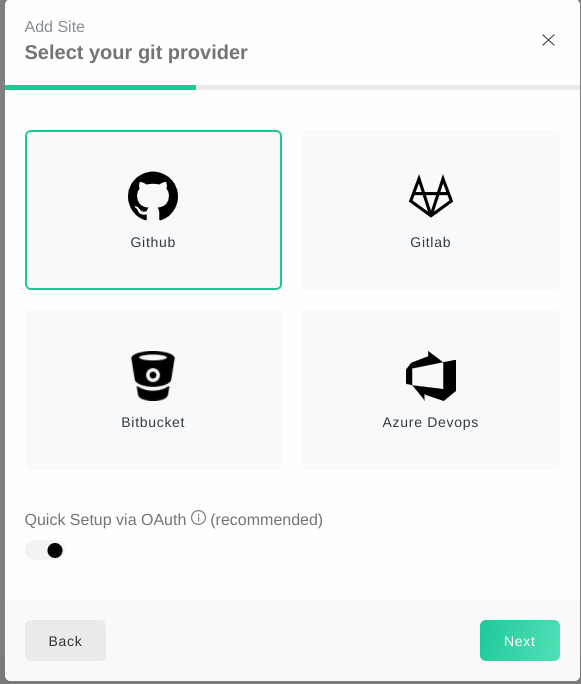
- Select your git provider. Your Flatiron blog is on Github. Make sure the Quick Setup via OAuth toggle is on.
- Choose your git repository (it should look like
YourUsername/BlogName.github.io) and the branch you would like to use.
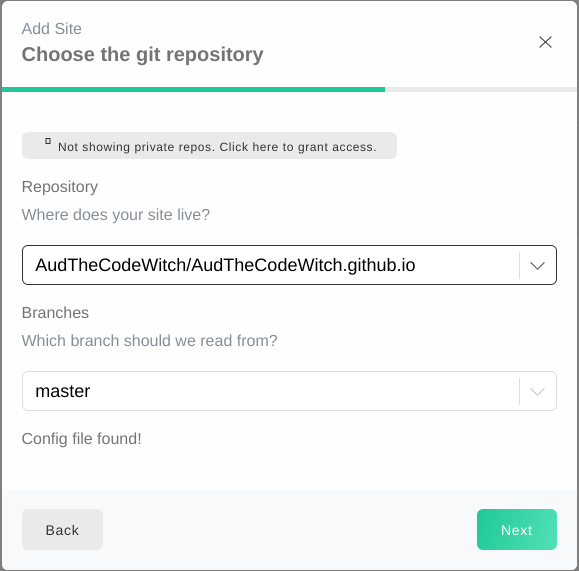
From here, Forestry will import your blog!
Start Writing
On the left sidebar, Forestry.io will detect the basic components of your blog. They will be broken into Pages (your home, about, and any other static pages you created) and Posts (your individual blog posts).
If you click the Posts button, it will display all the blog posts you’ve published so far. One feature I really like is the Set as draft option, located under the More Options (...) icon to the right of each post. This way, you can make edits and use the live previewer without changing your published post until you are ready!
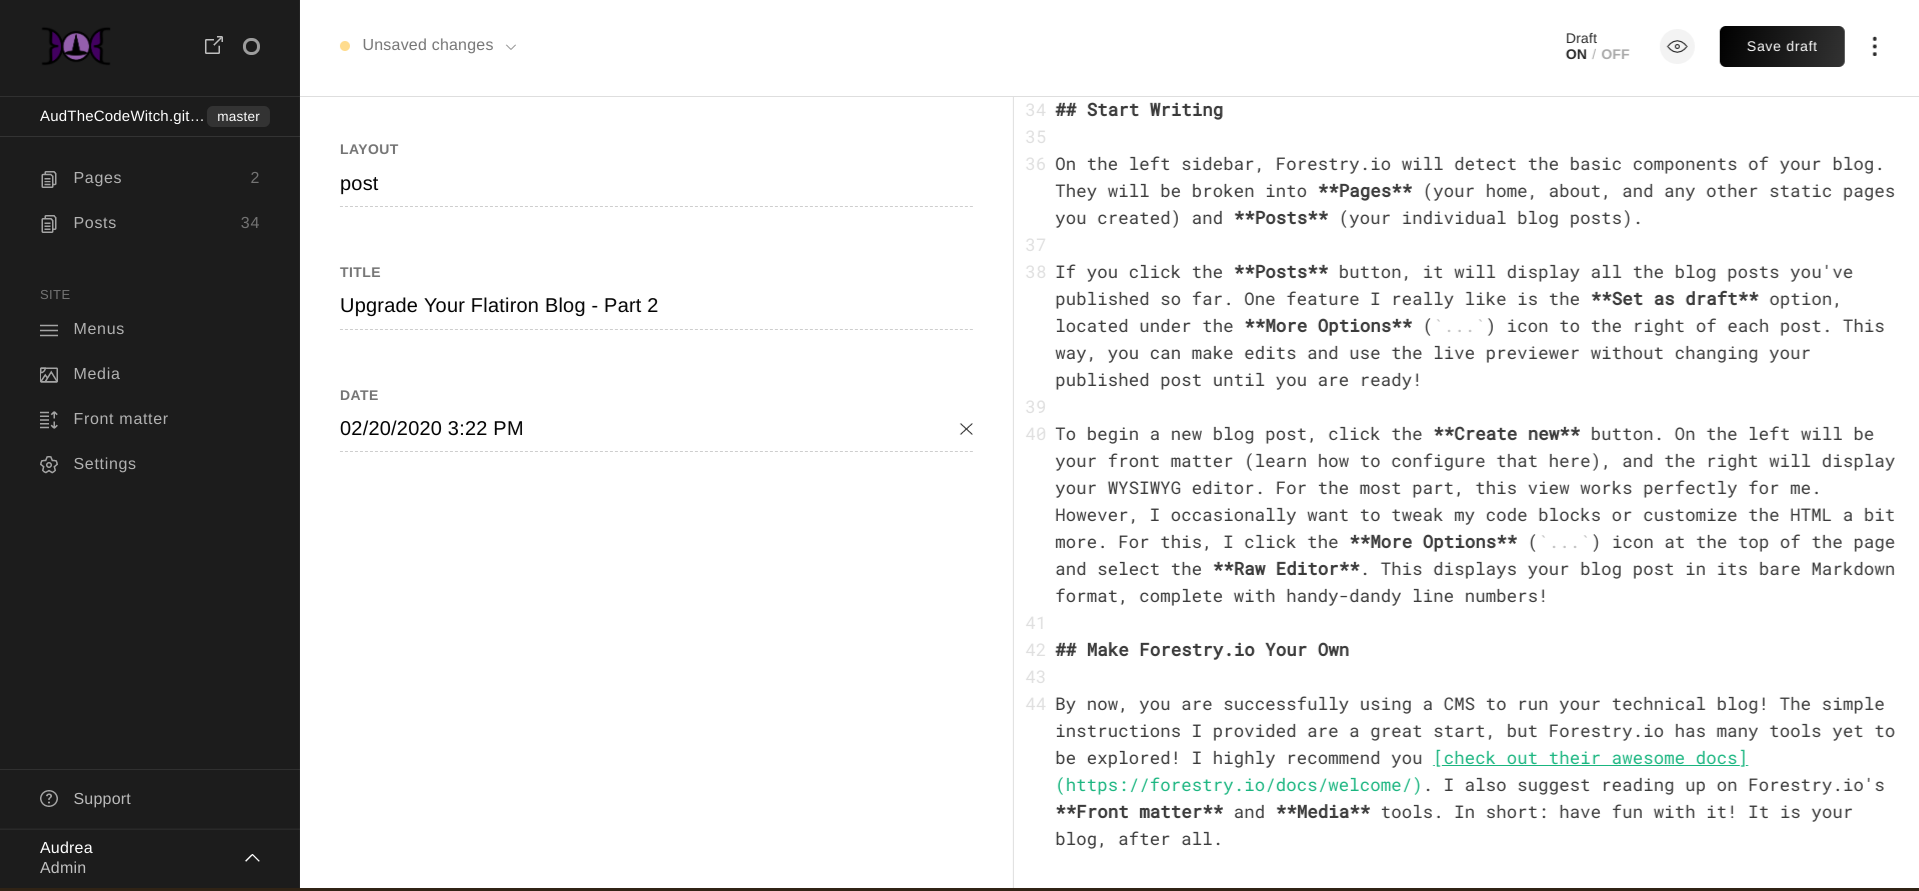
To begin a new blog post, click the Create new button. On the left will be your front matter (learn how to configure that here), and the right will display your WYSIWYG editor.
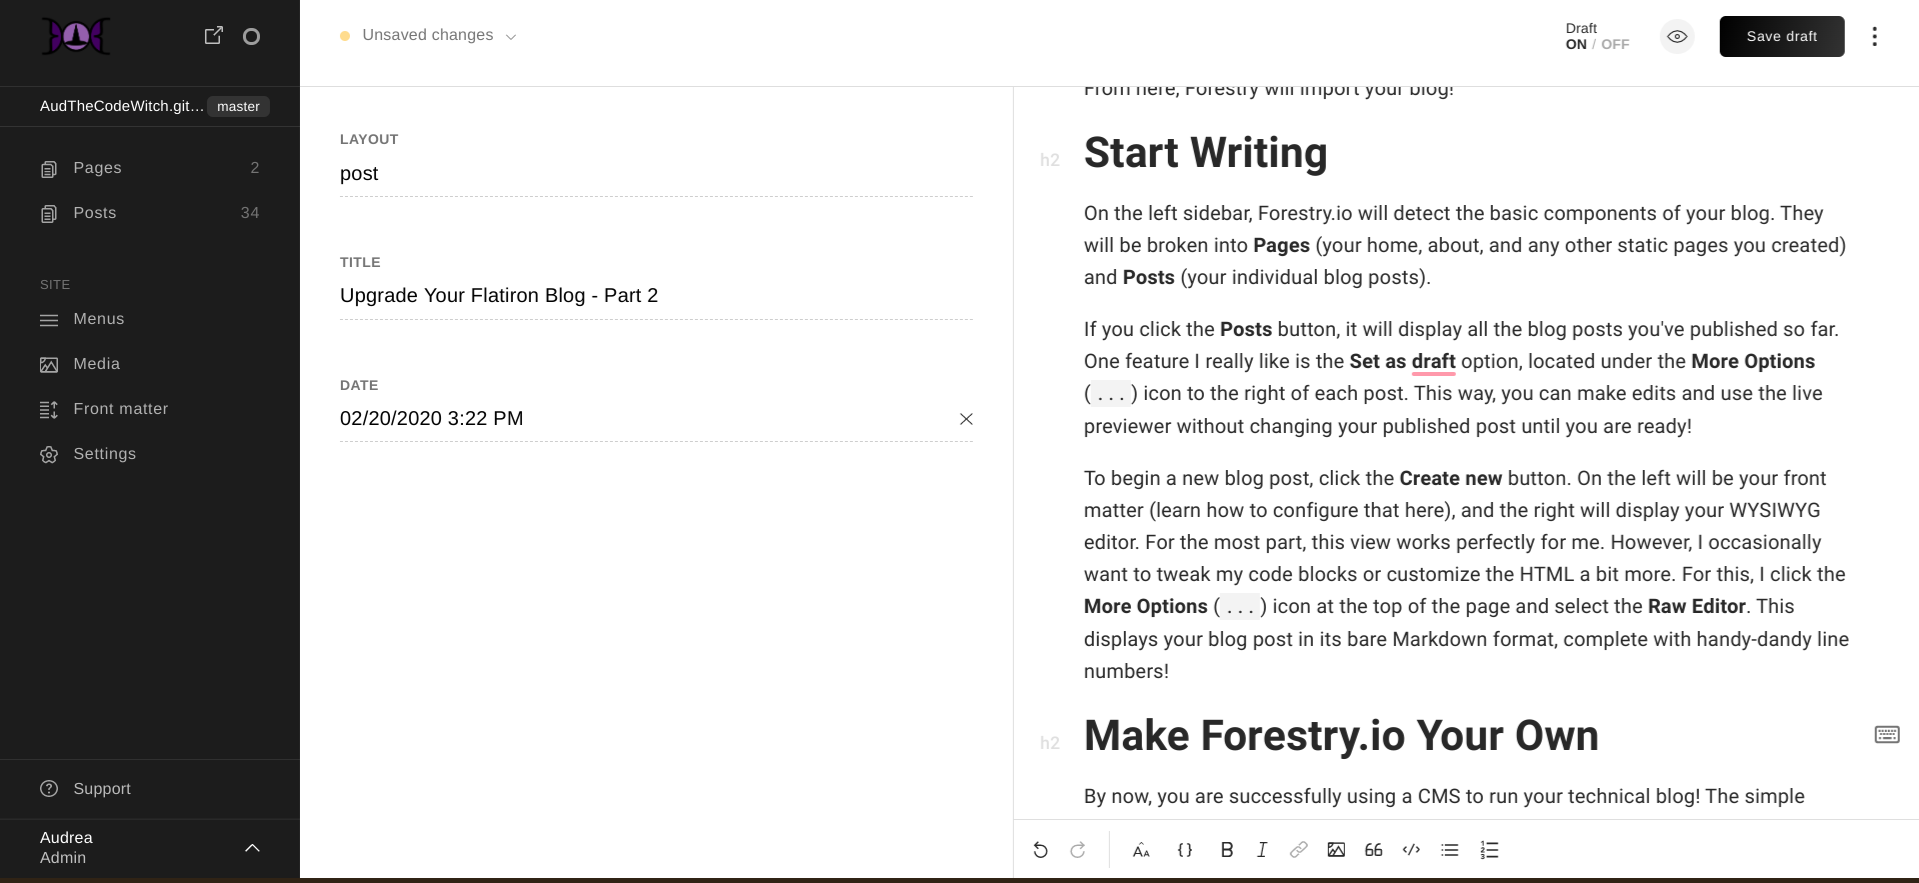
For the most part, this view works perfectly for me. However, I occasionally want to tweak my code blocks or customize the HTML a bit more. For this, I click the More Options (...) icon at the top of the page and select the Raw Editor. This displays your blog post in its bare Markdown format, complete with handy-dandy line numbers!
Make Forestry.io Your Own
By now, you are successfully using a CMS to run your technical blog! The simple instructions I provided are a great start, but Forestry.io has many tools yet to be explored! I highly recommend you check out their awesome docs. I also suggest reading up on Forestry.io’s Front matter and Media tools. In short: have fun with it! It is your blog, after all.